REVIEW · HONOLULU
Honolulu: Diamond Head Hike with Transfers
Book on GetYourGuide →Operated by The Big Kahuna Tours · Bookable on GetYourGuide
Diamond Head is a steep, cinematic payoff. You’ll climb through switchbacks, squeeze through a tunnel, and end at WWII-era lookout spots with Waikīkī and the Pacific spread out below. It’s the kind of hike where the effort is obvious early—and the reward keeps getting better.
I especially like how the route is staged in clear chunks: a gentle start, then a real push up the steep sections, then those dramatic stairs and bunker views. I also like the transfer setup, since it removes the mental math of getting to a busy trailhead on Oʻahu. One possible drawback is simple: the pickup needs to run on time, and the low rating hints that a missed pickup can really spoil the day.
This is best for people who are fine with stairs, uneven ground, and a short dark tunnel. If you’re expecting a fully guided, easy stroll, you may feel the difference when the hike turns into a workout.
In This Review
- Key things I’d circle before you go
- Diamond Head with transfers: why this crater hike feels like more than a workout
- Hike breakdown: switchbacks, tunnel, 74 steps, then WWII bunkers
- 1) Trailhead to the switchbacks (about 15 minutes)
- 2) Switchbacks to the tunnel (about 15 minutes)
- 3) The tunnel climb: dim light plus a short steep push (about 10 minutes)
- 4) Tunnel to the spiral stairs: 74 concrete steps (about 10 minutes)
- 5) Observation bunker to the summit lookout (about 10 minutes)
- Summit time: views of Waikīkī, ocean, lighthouse, and Koʻolau
- What the transfers add: convenience, comfort, and the real logistics value
- Price and value: what you’re really paying for at $75
- Who this hike suits best (and who should skip it)
- What to bring so the tunnel and stairs don’t slow you down
- My booking advice: should you book Diamond Head with transfers?
- FAQ
- How long is the Diamond Head hike with transfers?
- What’s included in the price?
- What’s not included?
- What are the main highlights on the route?
- Do I need a flashlight for the tunnel?
- What language is the driver/transport communication offered in?
- Is this hike wheelchair accessible?
- Is there an age limit?
- What are the cancellation and payment options?
Key things I’d circle before you go

- Transfers that reduce hassle: pickup and drop-off plus park entry and a water bottle included in the price.
- A route with big variety in 3 hours: switchbacks, a dim tunnel, then steep concrete stairs and a WWII observation area.
- Specific, timed effort: each segment is short (about 10–15 minutes) but the grade adds up.
- Bring your own light for the tunnel: a flashlight or your phone light is the difference between a quick stop and a long scramble.
- The summit is where the money is: plan extra time for photos and spotting lighthouse and coastline details.
- Fit check matters: not wheelchair-friendly, and the hike is not listed for people over 95.
Diamond Head with transfers: why this crater hike feels like more than a workout

Diamond Head is Oʻahu’s most recognizable volcanic crater, and the path earns that reputation quickly. Even the early part is a preview of what’s coming: lava rock textures underfoot, a dryland look to the vegetation, and that sense of “I’m going up” long before you reach the views.
The big win here is the shape of the experience. You’re not just walking to a viewpoint. You’re climbing through a mix of terrain and history—switchbacks that steer you into the steep, a short tunnel that breaks the rhythm, and WWII bunkers that give the summit area a grounded, real-world feeling. That combination is why people keep talking about this hike as a must-do.
You’re also getting the practical side bundled in. For $75 per person, you’re paying for more than a trail walk: you get pickup and drop-off, park entry, and a water bottle. That matters when you’re on vacation and you’d rather spend your energy on the hike than on parking, finding the right entrance, or timing everything yourself.
One more note: the experience is listed as about 3 hours total, which lines up with transfers plus time on the trail. On the hiking side, expect roughly 2 hours round trip, then use the remaining time for buffer and photo stops.
You can also read our reviews of more hiking tours in Honolulu



Hike breakdown: switchbacks, tunnel, 74 steps, then WWII bunkers
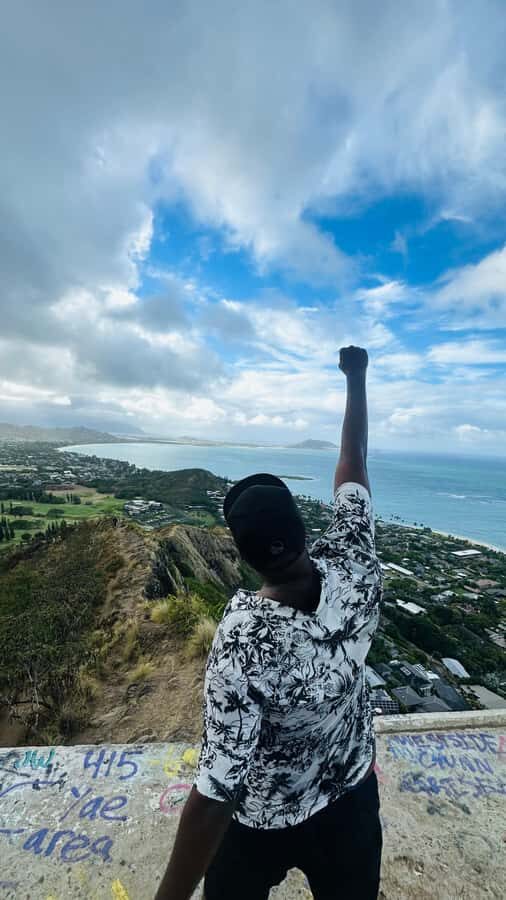
Here’s what the day feels like, step by step. The total hike breaks into short sections, so you can judge your pace early and adjust before you get buried in effort.
1) Trailhead to the switchbacks (about 15 minutes)
You start on paved approach sections that gradually shift into dirt and uneven footing. This first leg is your warm-up, and it’s genuinely helpful. The incline is manageable enough to get your breathing working but not yet punishing.
As you move, look for the contrast between lava rock formations and the dryland vegetation. It’s one of those “Oʻahu isn’t tropical everywhere” moments. Also, keep an eye on your footing here. If your shoes aren’t secure, uneven ground on a grade can turn the hike into a constant balancing act.
Tip that saves energy: use this early segment to find your rhythm. If you sprint through the first stretch, the rest of the route will feel steeper than it is.
2) Switchbacks to the tunnel (about 15 minutes)
Then the trail starts climbing in earnest. The switchbacks zigzag upward, and that’s important: switchbacks mean you’re gaining height more efficiently than going straight up, but they still demand steady effort.
This section is also your “views are starting to open up” phase. The crater floor and surrounding terrain begin to show through in glimpses. If you’re prone to stopping for long photo sessions, this is where you can grab a quick shot and then keep moving.
3) The tunnel climb: dim light plus a short steep push (about 10 minutes)
Next comes the tunnel. It’s short, but it changes the vibe. Parts can feel dim, so you should plan on bringing a light. A flashlight works, and your phone light is a practical backup.
This is also a place where people slow down. Not because it’s impossible, but because it’s not the kind of surface you can rush confidently. If you’re hiking in sandals or poor traction footwear, the tunnel phase will remind you that this is a real climb.
Practical move: step in, breathe, and aim for a steady pace. You don’t need to be fast; you need to be safe and consistent.






4) Tunnel to the spiral stairs: 74 concrete steps (about 10 minutes)
After the tunnel, the route signals its seriousness. You climb a steep set of 74 concrete steps that leads into a spiral staircase. This is the section that turns a “pretty hike” into a “workout.”
The good news is you’re not stuck forever. It’s a defined segment, and once you clear it, the effort pays you back with an immediate sense of progress. The spiral staircase also makes it feel more theatrical than you’d expect, even if you’re just thinking about your legs.
If you’re bringing family members or traveling with mixed fitness levels, this is where you should check that everyone is comfortable with stairs.
5) Observation bunker to the summit lookout (about 10 minutes)
Near the top, you pass through a historic WWII observation bunker. This is one of the best parts because it breaks up the physical challenge with something that feels meaningful and grounded. You’re not just looking at history—you’re moving through it.
From there, you finish with a short staircase to the summit lookout. At that point, your focus shifts from “can I make it” to “where’s the best view.”
Summit time: views of Waikīkī, ocean, lighthouse, and Koʻolau
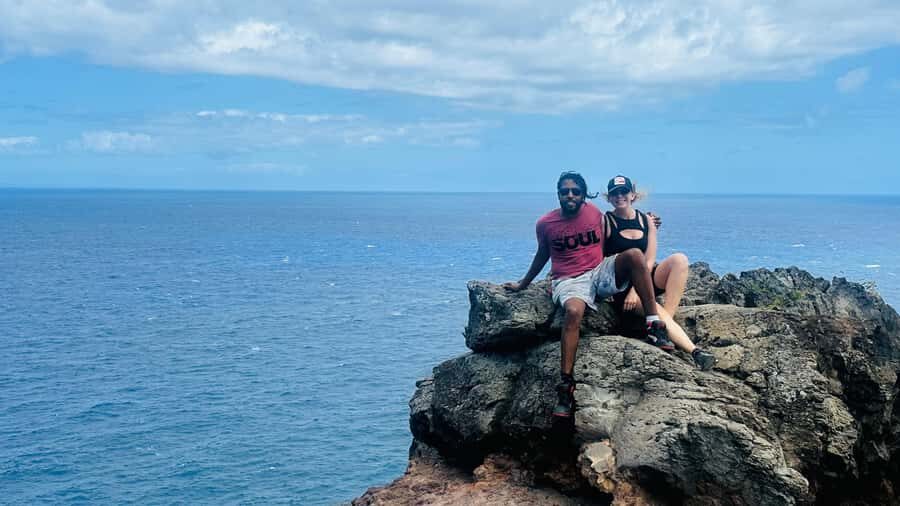
Once you reach the lookout, plan on 20–30 minutes of summit time. That chunk is where Diamond Head earns its reputation.
From up here, you can see across Waikīkī, out to the sparkling Pacific Ocean, and toward the Koʻolau Mountain Range. People also mention spotting the lighthouse below and catching surfers along the coastline. It’s not just wide-open scenery; it’s details you can actually recognize.
This is where you’ll want your phone camera ready, plus a quick check of wind and sun. If you burn easily, sunscreen earlier than you think you need it. The climb warms you up, then the summit hits you with full exposure.
Photo strategy that works: take one quick panorama first, then rotate for closer coastline shots. That keeps you from spending the best light on the same angle.
What the transfers add: convenience, comfort, and the real logistics value
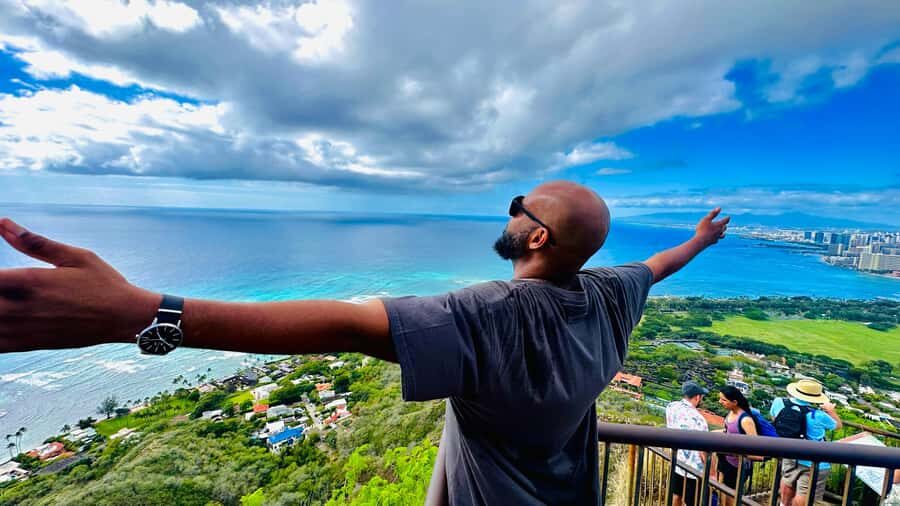
Diamond Head hikes are famous, which means trailheads can feel crowded and parking can be a hassle. The transfer part of this experience is designed to remove that friction.
You get pickup and drop-off, plus transportation as part of the package. A water bottle is included, and that’s not just a small perk—it helps you avoid the one thing that ruins a hike: realizing too late you don’t have water.
From the experience you get with the driver, the tone sounds friendly and practical. In particular, one driver named Sergio comes up in multiple accounts for being helpful, explaining things, and even offering tips on restaurants and bars for after the hike. That kind of local guidance is worth more than it sounds, because it helps you turn the day into a full plan instead of a single activity.
The one consideration is reliability. The ratings include at least one story where the pre-planned pickup didn’t show and the group had to fight for a refund later. That doesn’t mean it’s common, but it does mean you should treat the pickup as a serious part of your day.
My advice: confirm your pickup details the day before, and build in a buffer so you’re not standing around stressed.
Price and value: what you’re really paying for at $75

Let’s talk value in plain terms.
At $75 per person, you’re paying for:
- Round-trip transportation
- Park entry
- Water
- The timed structure of the day (with the 3-hour total window)
What’s not included:
- Meals and snacks
- A guide
That last point changes expectations slightly. You may have transport and driver support, but you shouldn’t assume a full hiking guide walking every step. You’re going to do the climb yourselves, and that’s part of the appeal if you like independent movement once you’re on the trail.
So is it worth it? For a lot of people, yes—because the hike itself is the main event. The cost isn’t only for the scenery; it’s for removing the “how do we get there and park and enter” tasks that eat time and energy.
If you’re comfortable driving yourself, the price may feel steep compared to DIY. If you’d rather trade money for simplicity, it tends to feel fair fast.
Who this hike suits best (and who should skip it)

This is listed as moderate and roughly 1.6 miles round trip. The distance isn’t huge, but the elevation work is real—especially with the tunnel and the 74 concrete steps.
This makes the tour a good fit for:
- People who like views and don’t mind effort
- Travelers who want an organized way to handle getting to the trail
- Families with mixed ages where the older hikers are confident on stairs (the accounts include parents in their 60s who made it without trouble)
You should think twice if:
- You rely on wheelchairs (not suitable for wheelchair users)
- You’re over 95 years (not recommended per the listing)
- You don’t handle stairs well or get uncomfortable in dim areas
If you fall into any of those “maybe” categories, you can still go with a plan: go slower, keep breaks short, and be honest with yourself about comfort in tunnel and steps.
What to bring so the tunnel and stairs don’t slow you down

The tour basics are simple, so your best moves are about comfort and traction.
Bring:
- Comfortable shoes with good grip
- Sunscreen and a hat
- A flashlight or make sure your phone light works well for the tunnel
- Water isn’t your full loadout—one bottle helps, but you should still pace yourself based on how you feel
Also, wear clothes that you can move in. The climb includes uneven sections and steep stairs, so if your outfit is more for looks than function, you’ll feel it.
My booking advice: should you book Diamond Head with transfers?
If you want a well-known hike with real payoff, this is a strong pick. The combination of switchbacks, the tunnel, and the WWII observation bunker makes the experience feel more interesting than a standard viewpoint climb. The transfers add value by handling the awkward parts—getting there, entering the park, and keeping the day organized.
Book it if:
- You want convenience and hate parking logistics
- You’re comfortable on stairs and uneven ground
- You’re excited by crater views over Waikīkī and the ocean
Skip or reconsider if:
- You need strict reassurance about pickup reliability and can’t handle disruptions
- You’re not comfortable with dim tunnel sections
- Stairs are a deal-breaker for you
If you do book, treat pickup timing as part of your plan. Confirm ahead of time, wear grippy shoes, and bring light for the tunnel. Then you’ll get the best of what makes Diamond Head so memorable: that moment near the top when the city and ocean suddenly look close enough to touch.
FAQ

How long is the Diamond Head hike with transfers?
The total experience runs about 3 hours. The hiking itself is roughly 2 hours round trip, with additional time for summit viewpoints and photos.
What’s included in the price?
The package includes pickup and drop-off, transportation, a water bottle, and the Diamond Head park entry ticket.
What’s not included?
Meals and snacks are not included, and the listing notes that a guide is not included.
What are the main highlights on the route?
You’ll hike from the trailhead to the switchbacks, continue to a dim tunnel, climb 74 concrete steps to a spiral staircase, and pass through WWII observation bunkers to reach the summit lookout.
Do I need a flashlight for the tunnel?
You should bring a flashlight or use your phone light, since the tunnel section can be dim.
What language is the driver/transport communication offered in?
Languages listed are Spanish and English.
Is this hike wheelchair accessible?
No. It is not suitable for wheelchair users.
Is there an age limit?
The tour notes it is not suitable for people over 95 years.
What are the cancellation and payment options?
You can cancel up to 24 hours in advance for a full refund. There is also a reserve now & pay later option listed.